By Maria Calabrese, JD, MS
Published on April 1, 2025
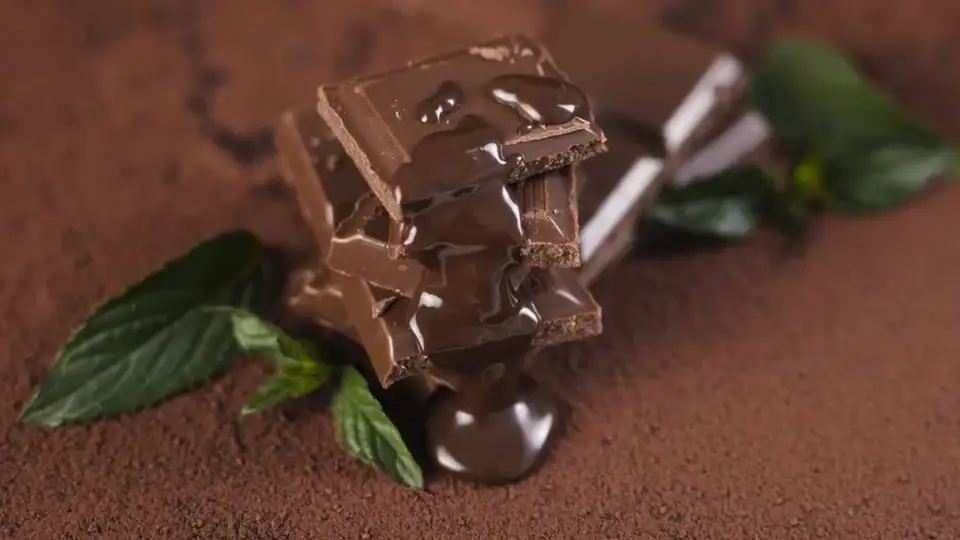
Image: Freepik A rich, homemade take on cannabis-infused chocolate—crafted for flavor, consistency, and mindful dosing.
Cannabis-infused chocolate is a delicious treat that merges the rich flavors of chocolate with the potential wellness benefits of cannabis, adding a unique twist to traditional edibles. In this guide, we cover everything you need to know about creating your own chocolate confections at home, including dosing, tempering, infusion methods, and storage.
Prep Time: 20 minutes
Cooking Time: 30 minutes (excluding cooling time)
Total Time: ~1 hour
Servings: 12 small pieces
Calories: ~90 per piece
Table of Contents
Ingredients and Tools for Making THC Chocolate
Image: iStock / Geshas A well-prepared workspace makes all the difference—quality chocolate, infusion-friendly fats, and the right tools set the foundation for smooth, evenly dosed cannabis chocolate.
Ingredients
Chocolate: 300 grams high-quality dark chocolate (60–75% cacao recommended)
Cannabis Infusion — Choose One Method: - Preferred: 1–2 teaspoons of cannabis-infused coconut oil, butter, or cocoa butter - Alternative (Advanced): 1–2 grams very finely ground, fully decarboxylated cannabis flower
Optional Fat Source: 1 tbsp coconut oil or unsalted butter (helps with infusion)
Extras: Sea salt, nuts, dried fruit, or flavor extracts
Tools
Double broiler or microwave-safe bowl
Candy Thermometer
Silicone spatula
Chocolate molds
Important Note on Infusion Methods: Most cannabis-infused chocolate is made using fat-based infusions such as cannabutter or cannabis-infused oils for a smoother texture and cleaner flavor. While you can technically mix finely ground decarboxylated flower directly into the chocolate, many people find the texture and taste less desirable. This method remains an optional, advanced approach.
Dosage Control in Cannabis-Infused Chocolate
Image: Adobe Express / Customized by GBL Creative Team Weighing cannabis flower on a digital scale to ensure accurate measurement and responsible use.
Proper dosing is crucial for ensuring each piece achieves the desired potency. Potency depends on your cannabis’s THC concentration and the amount you use. For example, 1 gram of cannabis at 15% THC yields ~150 mg THC total. Divided into 12 pieces, each piece contains ~12.5 mg THC.
If you want a milder dose, use less cannabis or increase the batch size. Always use a precision scale for accurate measurements. Start with half a piece and wait 1–2 hours to gauge effects before consuming more — edibles typically take longer to take effect than inhaled cannabis 12.
Educational Workshop
Why Your Edibles Hit Differently
What you'll learn: potency, consistency, control, and how to get predictable results every time.
Image: Freepik Preparing evenly chopped chocolate helps ensure smooth melting and consistent tempering in the first step of the recipe.
Creating your cannabis chocolate recipe at home is a rewarding process. Below is our comprehensive guide, including prep details to help you master every step.
Step 1: Tempering Chocolate
Image: Adobe Express Properly melted chocolate should look smooth and fluid, with no signs of scorching or separation before moving to the cooling stage.
Tempering gives chocolate a glossy finish and firm snap.
Melting: Heat chopped chocolate in a heat-proof bowl over simmering water or in a microwave at 50% power, stirring after each interval. Heat to ~110°F (dark chocolate) or 105°F (40°C) for milk or white chocolate. Stir continuously to ensure an even melt without burning. Cooling: Remove from heat, add a small amount of extra chopped chocolate to cool. Stir continuously while allowing the chocolate to cool to ~82°F or 86°F–88°F for milk chocolate. Reheating: Gently raise the temperature to 88°F–90°F for dark chocolate. Testing: Drop a bit on parchment paper— it should set quickly with a glossy and smooth look, providing a crisp snap when broken. If the chocolate appears dull or becomes too soft, repeat the tempering steps.
Pro Tip: Cleaning melted chocolate can be tricky; soaking tools in warm water helps loosen it. If you have leftover chocolate on utensils, using a small amount of vegetable oil can help remove it before washing.
Step 2: Decarboxylation for Cannabis Chocolate
Image: iStock / mynewturtle Even spacing and gentle heat allow cannabinoids to activate evenly, helping preserve potency while avoiding scorching.
Decarboxylation converts THCA in cannabis flower into psychoactive THC so that it’s active in edibles 34. Generally, decarbing in an oven at 220–240°F for ~30–45 minutes is effective, balancing activation with terpene retention 56. Spread ground cannabis evenly on a sheet with parchment paper and bake, stirring halfway for even heat exposure.
This process ensures the THC is fully activated. Be sure to stir the cannabis halfway through to ensure even heating. For a more in-depth guide on decarboxylation, be sure to check out our detailed decarboxylation guide.
Want to skip the oven and keep your kitchen odor-free? There’s a more precise way to activate your cannabis for chocolate.
Infusion Made Easy
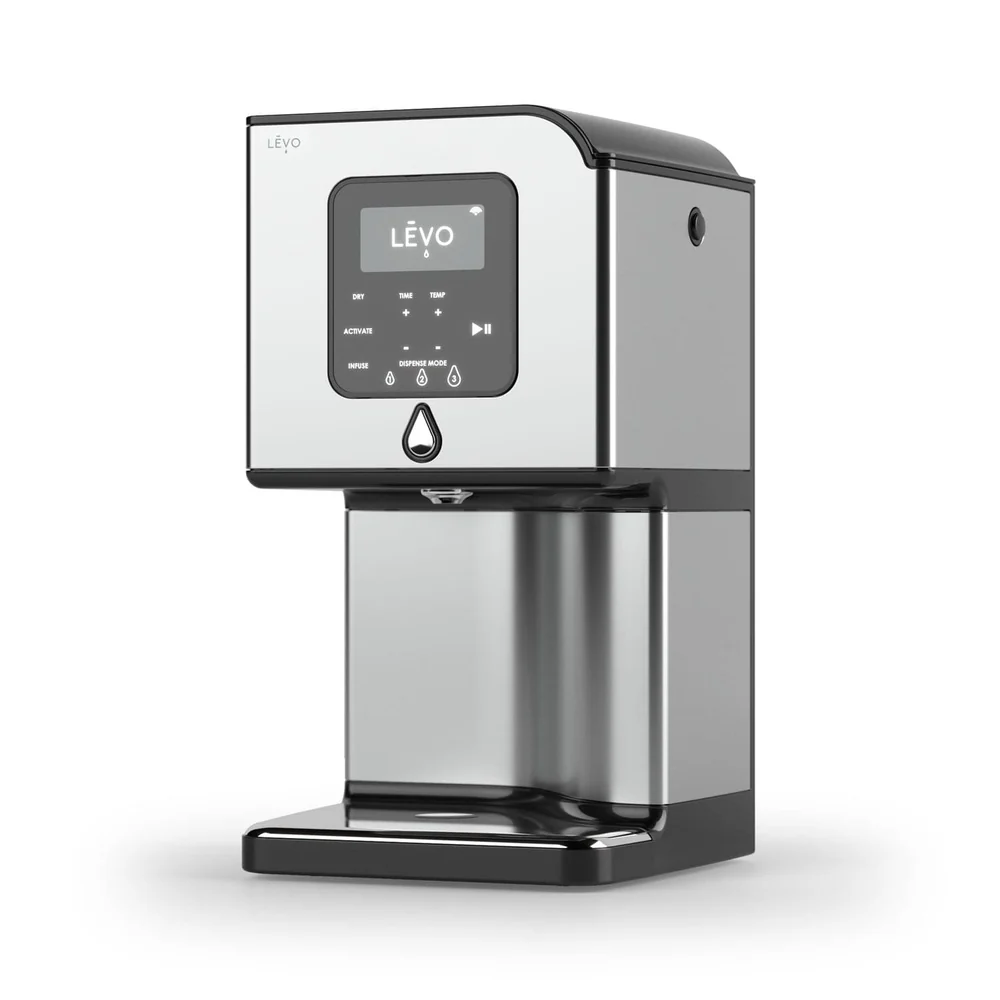
Infuse Like a Pro with the LĒVO II+
For home creators who value simplicity, precision and control
A faster, odor-free way to decarb. The LĒVO II machine lets you decarboxylate and infuse with precision at the push of a button—no oven required.
Lorem ipsum dolor sit amet consectetur adipiscing elit.
Image: istock / Olena Bondarenko / Customized by GBL Creative Team Using cannabis-infused butter or oil allows cannabinoids to blend smoothly into chocolate while maintaining clean flavor and consistent texture.
Once the chocolate is tempered and your cannabis infusion is ready, you’ll combine them, ensuring your canna chocolate is evenly potent and effective.
Option A: Infusing with Cannabis Butter or Oil (Recommended) Add your pre-infused cannabis fat (butter, coconut oil, or cocoa butter) to the tempered chocolate. Stir consistently at working temperatures to ensure even cannabinoid distribution without breaking the chocolate emulsion.
Option B: Direct Cannabis Flower Infusion (Optional) If using decarboxylated flower directly, ensure it’s very finely ground and stir it into the chocolate and fat. The texture will be more herbal and rustic, and this method may leave visible plant bits.
Step 4: Molding and Cooling of Cannabis-Infused Chocolate
Image: iStock / Davizro Pouring slowly and evenly helps the chocolate settle smoothly in the molds, reducing air bubbles and creating a clean finish once set.
Pour the infused chocolate into molds, tap out air bubbles, and let it set at room temperature. If short on time, refrigerate briefly (15–20 min), but avoid too rapid cooling to preserve texture. Store finished pieces in an airtight, child-resistant container.
Tips for Perfect Cannabis Chocolate
Image: Pixabay / Alexander Stein A smooth finish and consistent texture are key indicators of well-tempered, evenly infused cannabis chocolate.
Quality Ingredients: Use premium chocolate and high-grade, properly decarboxylated cannabis for the best flavor and potency.
Even Infusion: Stir consistently during the infusion process to prevent clumping and ensure every bite of your marijuana chocolate is evenly dosed.
Temperature Control: Monitor heat closely during both tempering and infusion stages to preserve cannabinoids.
Storage: Keep THC-infused chocolate in a cool, dark place in a clearly labeled, child-proof container.
Conclusion
Making cannabis-infused chocolate at home is both an art and a science. With proper decarboxylation, thoughtful infusion using fat-based carriers, and careful tempering, you can craft chocolate edibles that are both delicious and reliably dosed. Whether you aim for a mild experience or something stronger, this method gives you control over flavor, texture, and effects — all while avoiding undesirable plant material in the final product. Enjoy it on its own, in dessert recipes, or as a topping. Try adding in nuts, dried fruit, or sea salt to customize the taste even further.
Questions About Cannabis Chocolate
How do you temper infused chocolate?
Tempering infused chocolate follows the same steps as regular chocolate — melt, cool with seed chocolate, then reheat to working temperature - 110°F for dark chocolate or 105°F for milk/white chocolate. Then, cool it to about 82°F by adding seed chocolate, before reheating it to 88°F–90°F for dark chocolate or 86°F–88°F for milk chocolate.
Which chocolate is best used for infusing with THC?
High-quality dark chocolate offers robust flavor and pairs well with cannabis infusions due to its lower sugar profile.
Do chocolate edibles lose potency over time?
Proper storage helps maintain potency. Light, heat, and oxygen can degrade cannabinoids slowly over time. When stored properly, chocolate edibles can maintain their potency for several months.
Do chocolate edibles kick in faster than gummies?
Onset for chocolate edibles typically falls within 30–120 minutes, variable based on metabolism, contents of the stomach, and dose 11.
Can you infuse chocolate directly with cannabis flower?
Yes, but the recommended method uses infused fats such as cannabutter or cannabis-infused oil to achieve a smoother texture and cleaner flavor. Using decarboxylated flower directly is an optional advanced approach that may yield a more herbal result.
This guide is intended for educational and culinary purposes only. Infusion techniques, potency calculations, and serving suggestions are based on widely accepted practices in cannabis cooking and home infusion. Always consume responsibly and adjust dosing according to your personal comfort and experience level.
Some of the links in this post are affiliate links, which means Green Bee Life may earn a small commission if you choose to make a purchase. This comes at no extra cost to you and helps support our educational content. We only share products we personally use, trust, and believe add real value to your wellness journey.
R. Gonzalez. Cannabis Decarboxylation 101: Everything You Need to Know. Root Sciences. rootsciences.comBack to Top
Written By
Maria Calabrese, JD, MS
Founder, Green Bee Life
As the founder of Green Bee Life, Maria Calabrese is dedicated to raising consumer awareness within the cannabis industry, filling informational gaps, and fostering consumer confidence. Her work focuses on empowering consumers with the knowledge needed to make informed decisions, ensuring they find the most suitable cannabis solutions for their wellness needs. Maria's expertise helps bridge the connection between consumers and innovative cannabis insights, advocating for informed choices in the evolving landscape of cannabis as a wellness solution.
Editor's Note (2026): As more consumers explore homemade cannabis edibles and infused ingredients, one question continues to come up: How do I create a more consistent experience from batch to batch? This guide has been refreshed for 2026 as a companion resource to Just Say KNOW with Maria – Episode 26: Flower Infusion 101, where […]
Learn how to make cannabis edibles at home with beginner-friendly infusion methods, dosage guidance, decarboxylation basics, and practical storage tips for more consistent homemade recipes.
Learn how to make cannabis cooking oil at home while understanding the small variables that influence consistency. A practical guide to infusion techniques, ingredient selection, and building confidence in the process.
Learn what a cannabis decarboxylator is, how it works, and why consistent decarboxylation matters for edibles, tinctures, and infusions. A practical guide to choosing the right machine for your needs.